Image Map

Sunday, February 5, 2012

"Owl" Be Your Valentine

 
Tutorial coming soon!

Follow Sugar Bea's on Pinterest!
(though I have NO IDEA what I'm doing, I will figure it out!)

Friday, February 3, 2012

Jar of Hearts Tutorial

These perfect little bite size cookies are so simple to make. Really, so easy! And sometimes, smaller is just better.. so you don't feel guilty for eating 28 in one sitting. 

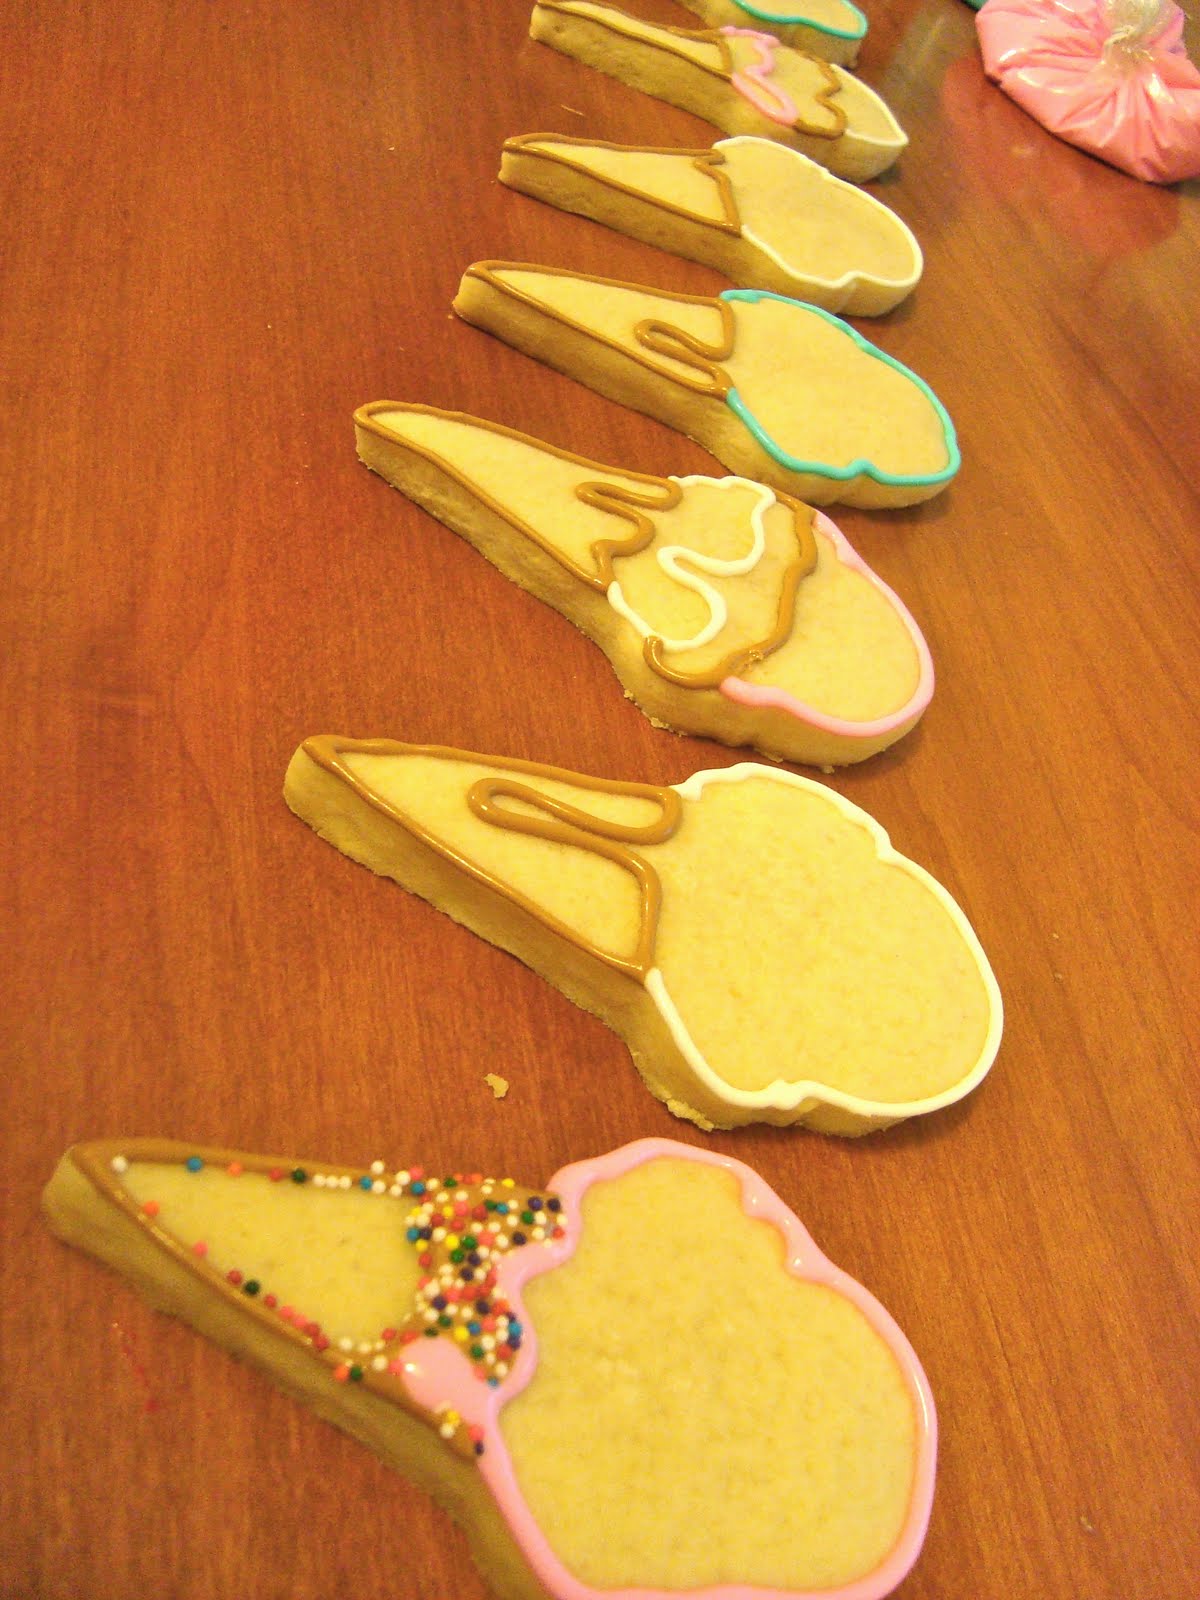
Fist make your Royal Icing and mix the different colors you want. Then line away! I used a #1 tip to line these because of their size (on bigger cookies, I often use a #2 tip).


Once all the cookies are lined, go ahead and flood. Use a toothpick to pop any bubbles and to drag the icing to edge of the cookie.


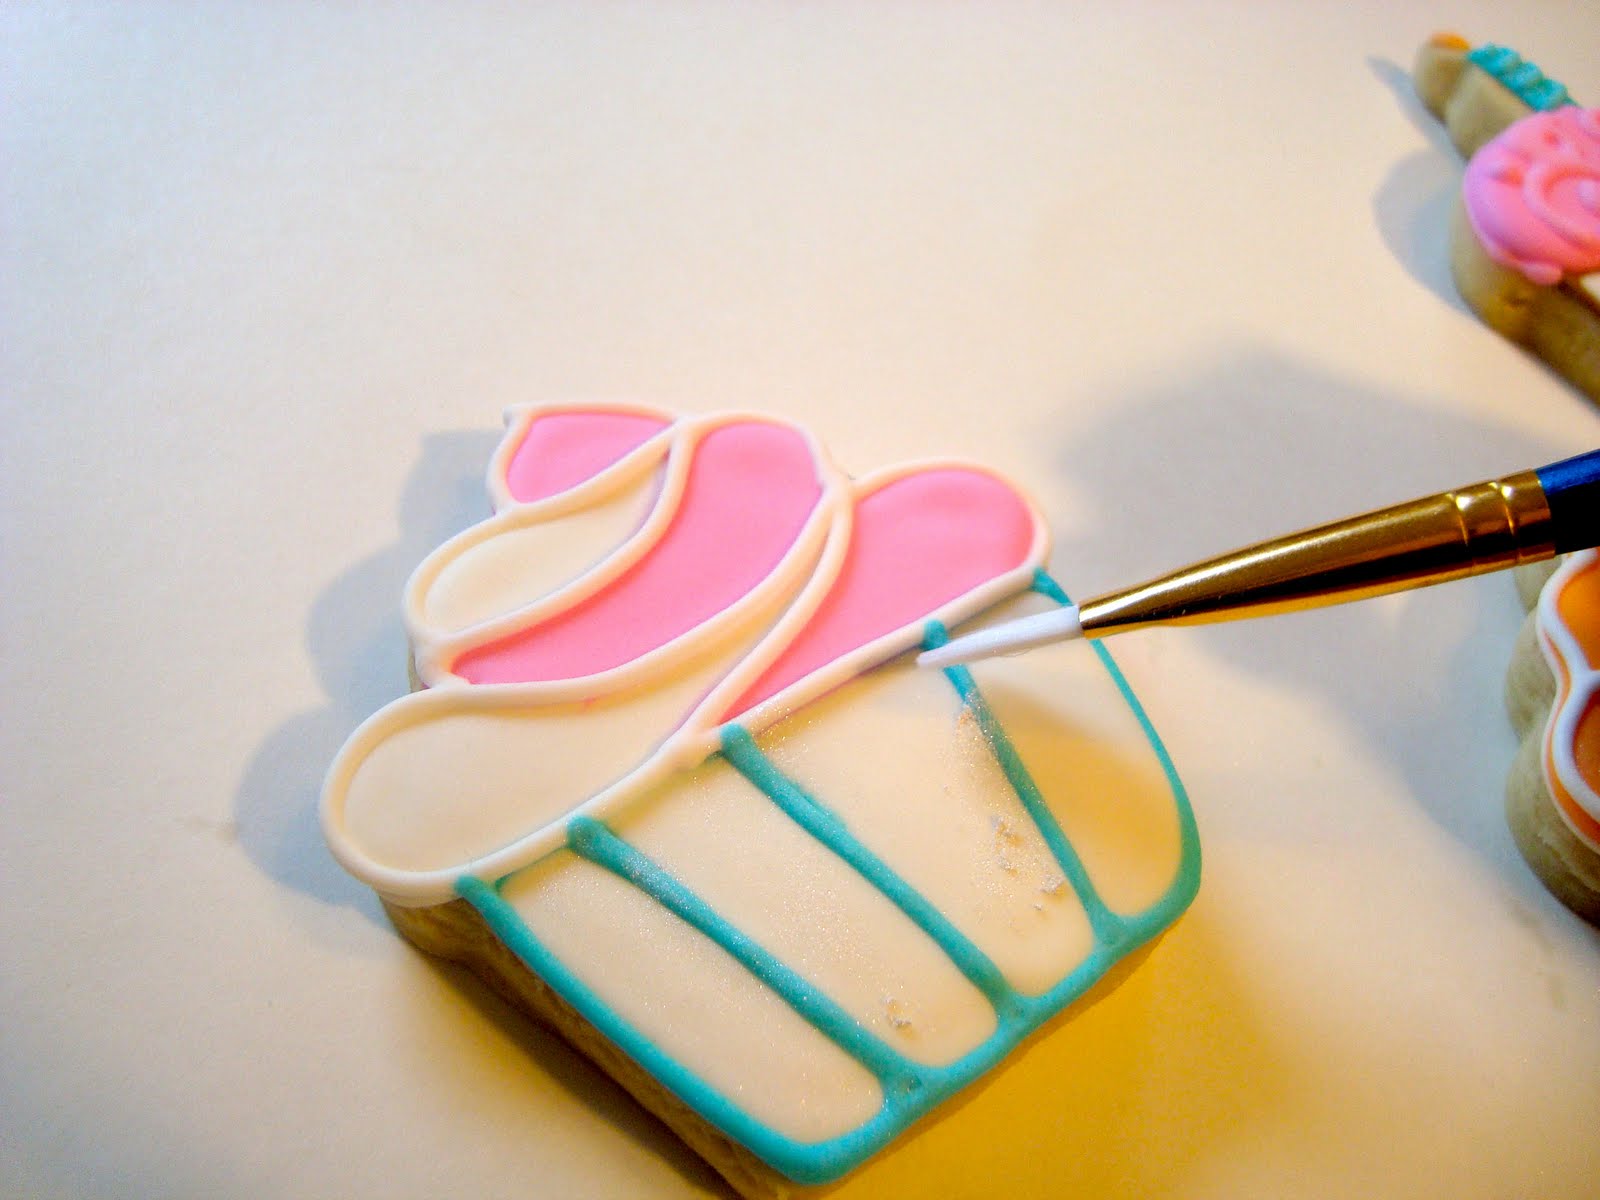
While the cookies are still wet, add any designs you want! I did polka dots, XOXO, hearts and dipped some of them in white sanding sugar.. really the possibilities are endless! 

After you've decorated all your cookies, let them dry for about 10 hours.


And you've got yourself some perfect little Valentine's Day cookies! 


I gave mine as gifts and put them in a jar with white tulle tied around it. So cute (and yummy)!


Another Valentine post coming soon! If you have any questions on technique you are welcome to email me! If you'd like a tutorial on a certain method, just let me know and I'll see what I can do!

{Happy Baking}

Thursday, February 2, 2012

Jar of Hearts


These beauties are super easy, and perfect little bite size cookies. Mmm... 
Tutorial coming soon!

Saturday, September 3, 2011

How to Line and Flood a Cookie with Royal Icing

First make and roll out your dough. I always put my cutout dough on a cookie sheet in the freezer for about ten minutes before I bake it. This will prevent spreading.

You can buy precision rollers, but because I'm a poor college student I use wooden dowels! They work the exact same.

After your cookies are made it's time to make your Royal Icing. You can find my recipe and tutorial here.

Line your cookie with the thicker consistency (this is a #2 tip)

Once all cookies are lined, let them dry for about thirty minutes to an hour.

Now it's time to flood! I use a toothpick to drag the frosting to the edges. Make sure once the cookie is totally flooded to pop all the bubbles with your toothpick.

Once you've waited about 12-24 hours (depending on the size of the cookie), you can add the small details. I added super pearl dust to make my cupcake's sparkle!

I did a dry application with a paintbrush.


Until next time :)

Sugar Bea

Posts may be scarce the next little while due to being a full time student, a Mother and a Wife!


Tuesday, August 23, 2011

Henna Cookies

I've been DYING to make this kind of cookie for a long time, but haven't had anything to make them for. Finally, I was able to make them for an open house!! To make these I just looked at a bunch of different henna tattoo pictures on google. Creative? Yes. This is what I came up with!


I really want to try doing these cookies one more time. I thought they turned out good, but they could be better. It definitely takes a steady hand (that I don't have)! By the last cookie though, I kinda had the hang of it. I'm exited to do some more of these babies!

Happy Cookie-ing :)

Sugar Bea

Saturday, August 20, 2011

For the Elders


I made these Tie cookies for a lady in my ward (that goes to my church). She and three other families had an open house for their three sons coming home from their two year missions for the Church of Jesus Christ of Latter-Day Saints. I also did the flags of each place they went. One missionary went to California, the other went to New Mexico and the last went to the Dominican Republic. Welcome home Elders! Thanks for your order Jill!

Enjoy the rest of your weekend!

Sugar Bea

Thursday, August 18, 2011

Cowgirl Up!


I finally got a new USB cord for my camera today! I was so happy to see it :) Here are some cowgirl cookies I did for a three year old birthday. I sent them to Arizona, thankfully they made it through the heat.. but unfortunately a few broke (the butterflies). These were a challenge to do when I realized I didn't have a horse cookie cutter and that is what she wanted. But, it worked out! And these horses didn't break.

Stay tuned for a tutorial some time this week!

Happy baking :)

Sugar Bea